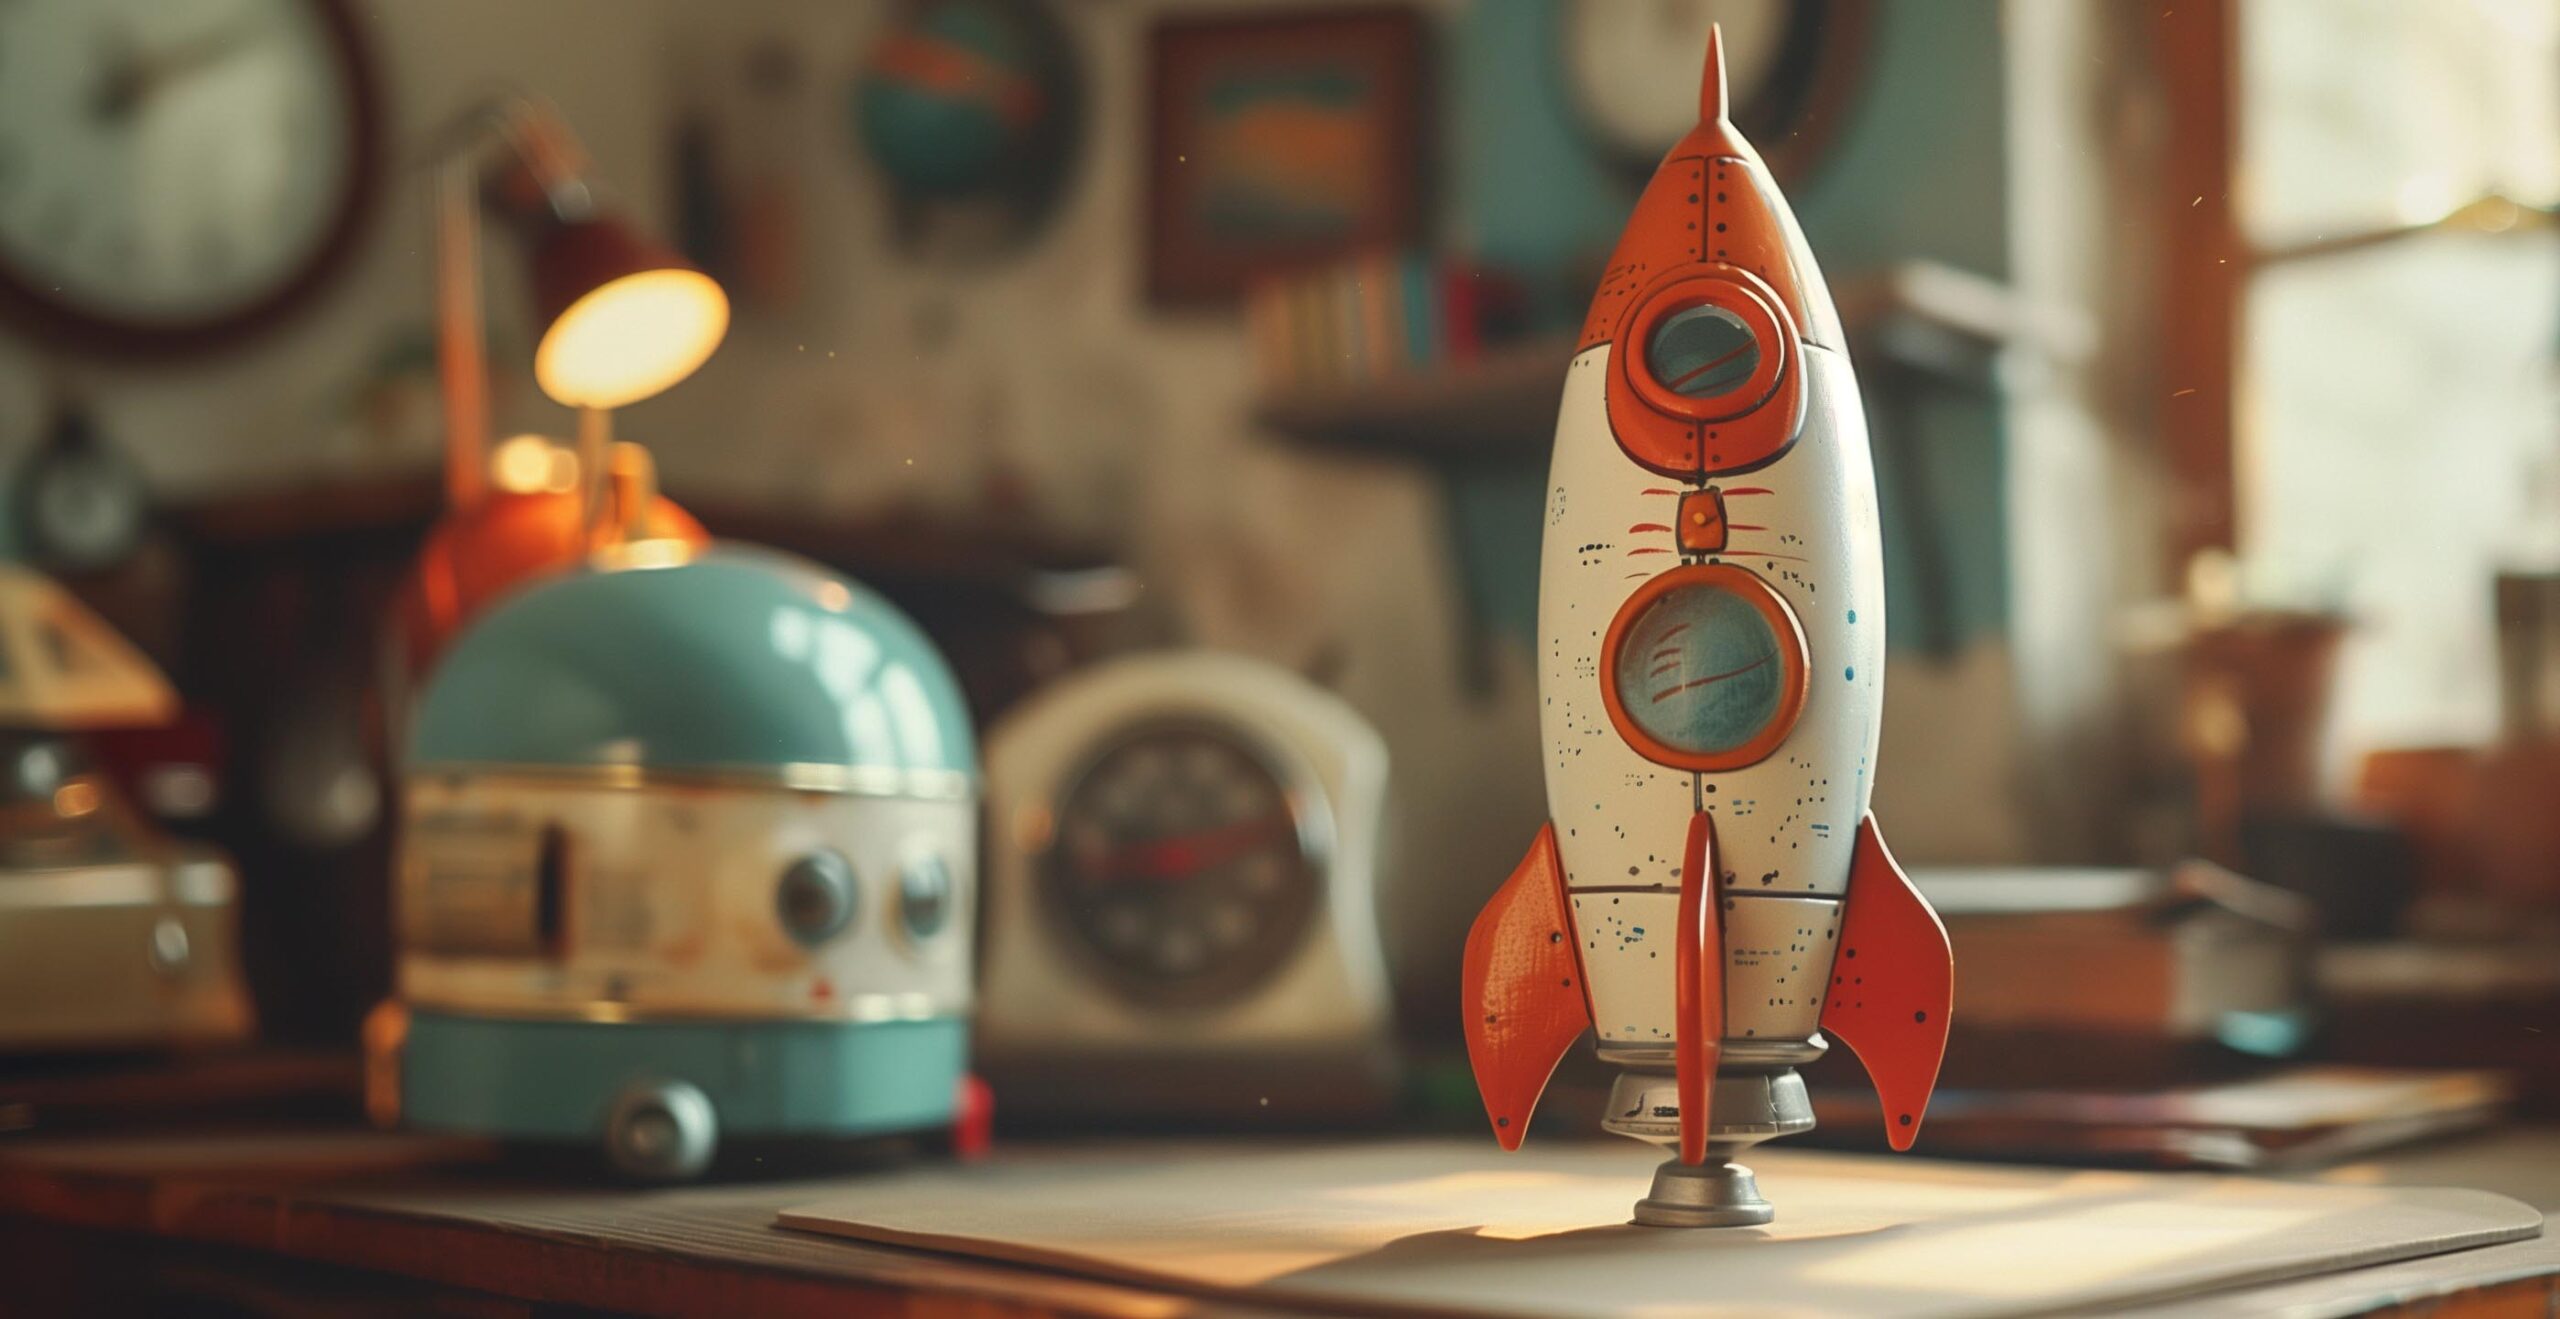
Understanding the Importance of Product Visualization
With the proliferation of e-commerce platforms and online shopping, consumers rely heavily on visuals to make informed purchasing decisions. High-quality product renders not only showcase the features and aesthetics of a product but also evoke emotions and drive desire.
Before we delve into the intricacies of 3D rendering techniques, let’s first understand why product visualization is crucial in today’s digital age. In today’s highly competitive digital landscape, captivating visuals are paramount for grabbing attention and driving engagement. If you are showcasing a product for marketing purposes, creating catalog images for e-commerce, or bringing design concepts to life, harnessing the power of 3D rendering techniques can elevate your projects to new heights. In this quick guide, we’ll look into the top 3D rendering techniques for product visualization, empowering you to create stunning images that captivate your audience and leave a long-lasting impression.
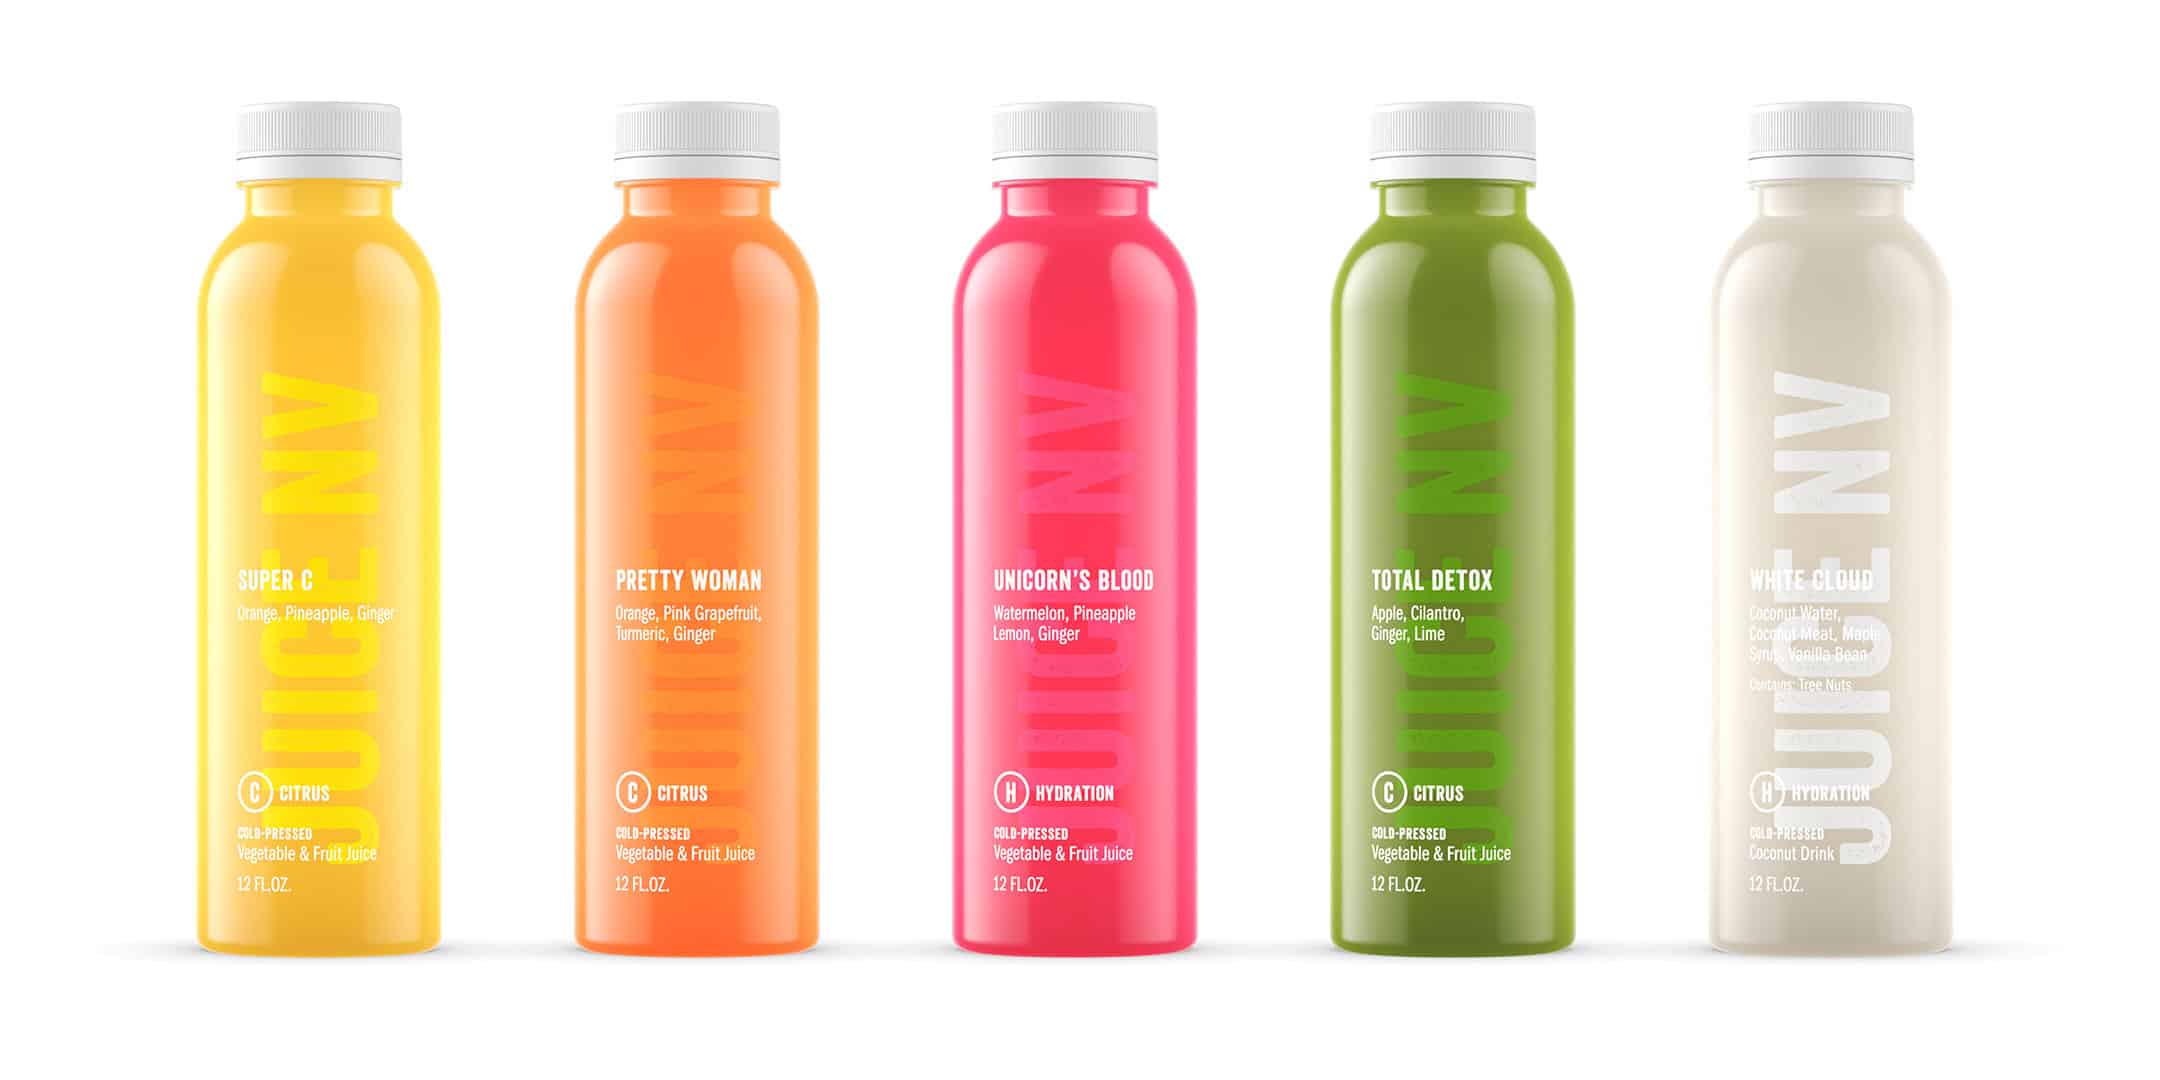
Photorealistic Modeling Look
Photorealistic rendering aims to create images that closely resemble real-life objects, complete with accurate lighting, materials, and textures. To achieve photorealism in your renders, attention to model design is a great help. When modeling a product, make sure that every curve, edge, and design detail is accurately represented in the 3d model. Detailed 3D models are the key to creating a photorealistic design process. Put some work into the model. It will be worth it in the look of the final images. Pay close attention to the materials and textures on your model. Utilize high-resolution textures and shaders to mimic the appearance of various materials such as wood, metal, glass, and fabric. Fine-tune material properties such as roughness, specularity, and reflectivity will help you achieve a realistic convincing textured look. Next, work on lighting and shading to create depth and realism. It doesn’t matter how detailed that model is if you can’t see it. Experiment with different lighting setups to evoke the desired mood and ambiance. Incorporate global illumination techniques such as ray tracing or path tracing to simulate the interaction of light with surfaces, resulting in more natural-looking reflections and shadows.
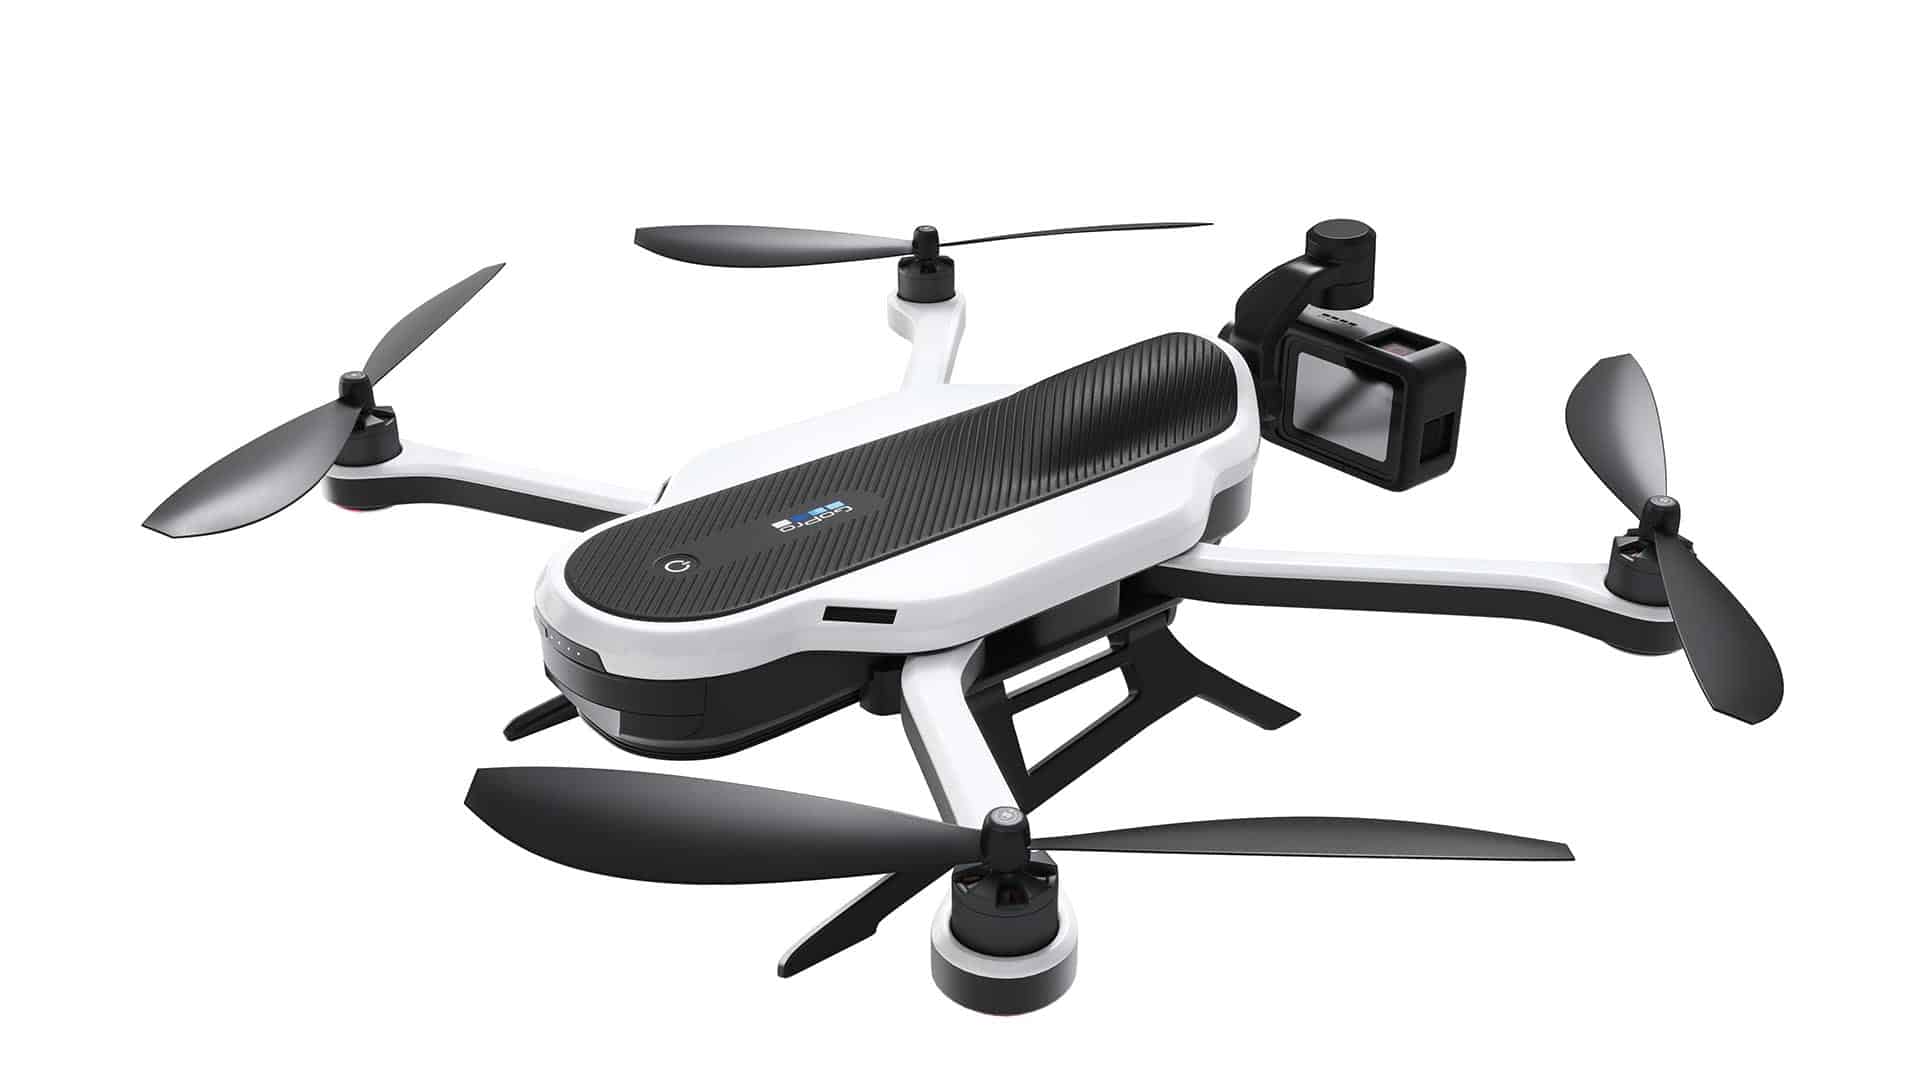
Ambient Occlusion Process
Ambient occlusion is a rendering technique that simulates the soft shadows that occur in crevices and corners where ambient light has difficulty reaching. By adding subtle shading to these areas, ambient occlusion enhances the depth and realism of your renders, helping them to appear more grounded and lifelike. It works by casting rays from each point on a surface and sampling the surrounding geometry to determine how much ambient light is blocked or occluded. Areas that are more occluded receive less ambient light and appear darker, while areas that are less occluded receive more ambient light and appear brighter. The result of ambient occlusion is a subtle yet effective shading effect that adds depth and realism to rendered images. It helps to accentuate the contours and details of objects, improve spatial perception, and enhance the overall visual quality of rendered scenes. To implement ambient occlusion in your renders, enable it as a post-processing effect in your rendering software or incorporate it into your material shaders. Adjust the intensity and radius of the ambient occlusion effect to achieve the desired level of subtlety. Keep in mind that this ambient occlusion process is a 3d rendering tool that should complement, rather than overpower, the overall lighting of the scene. Don’t overdo it.
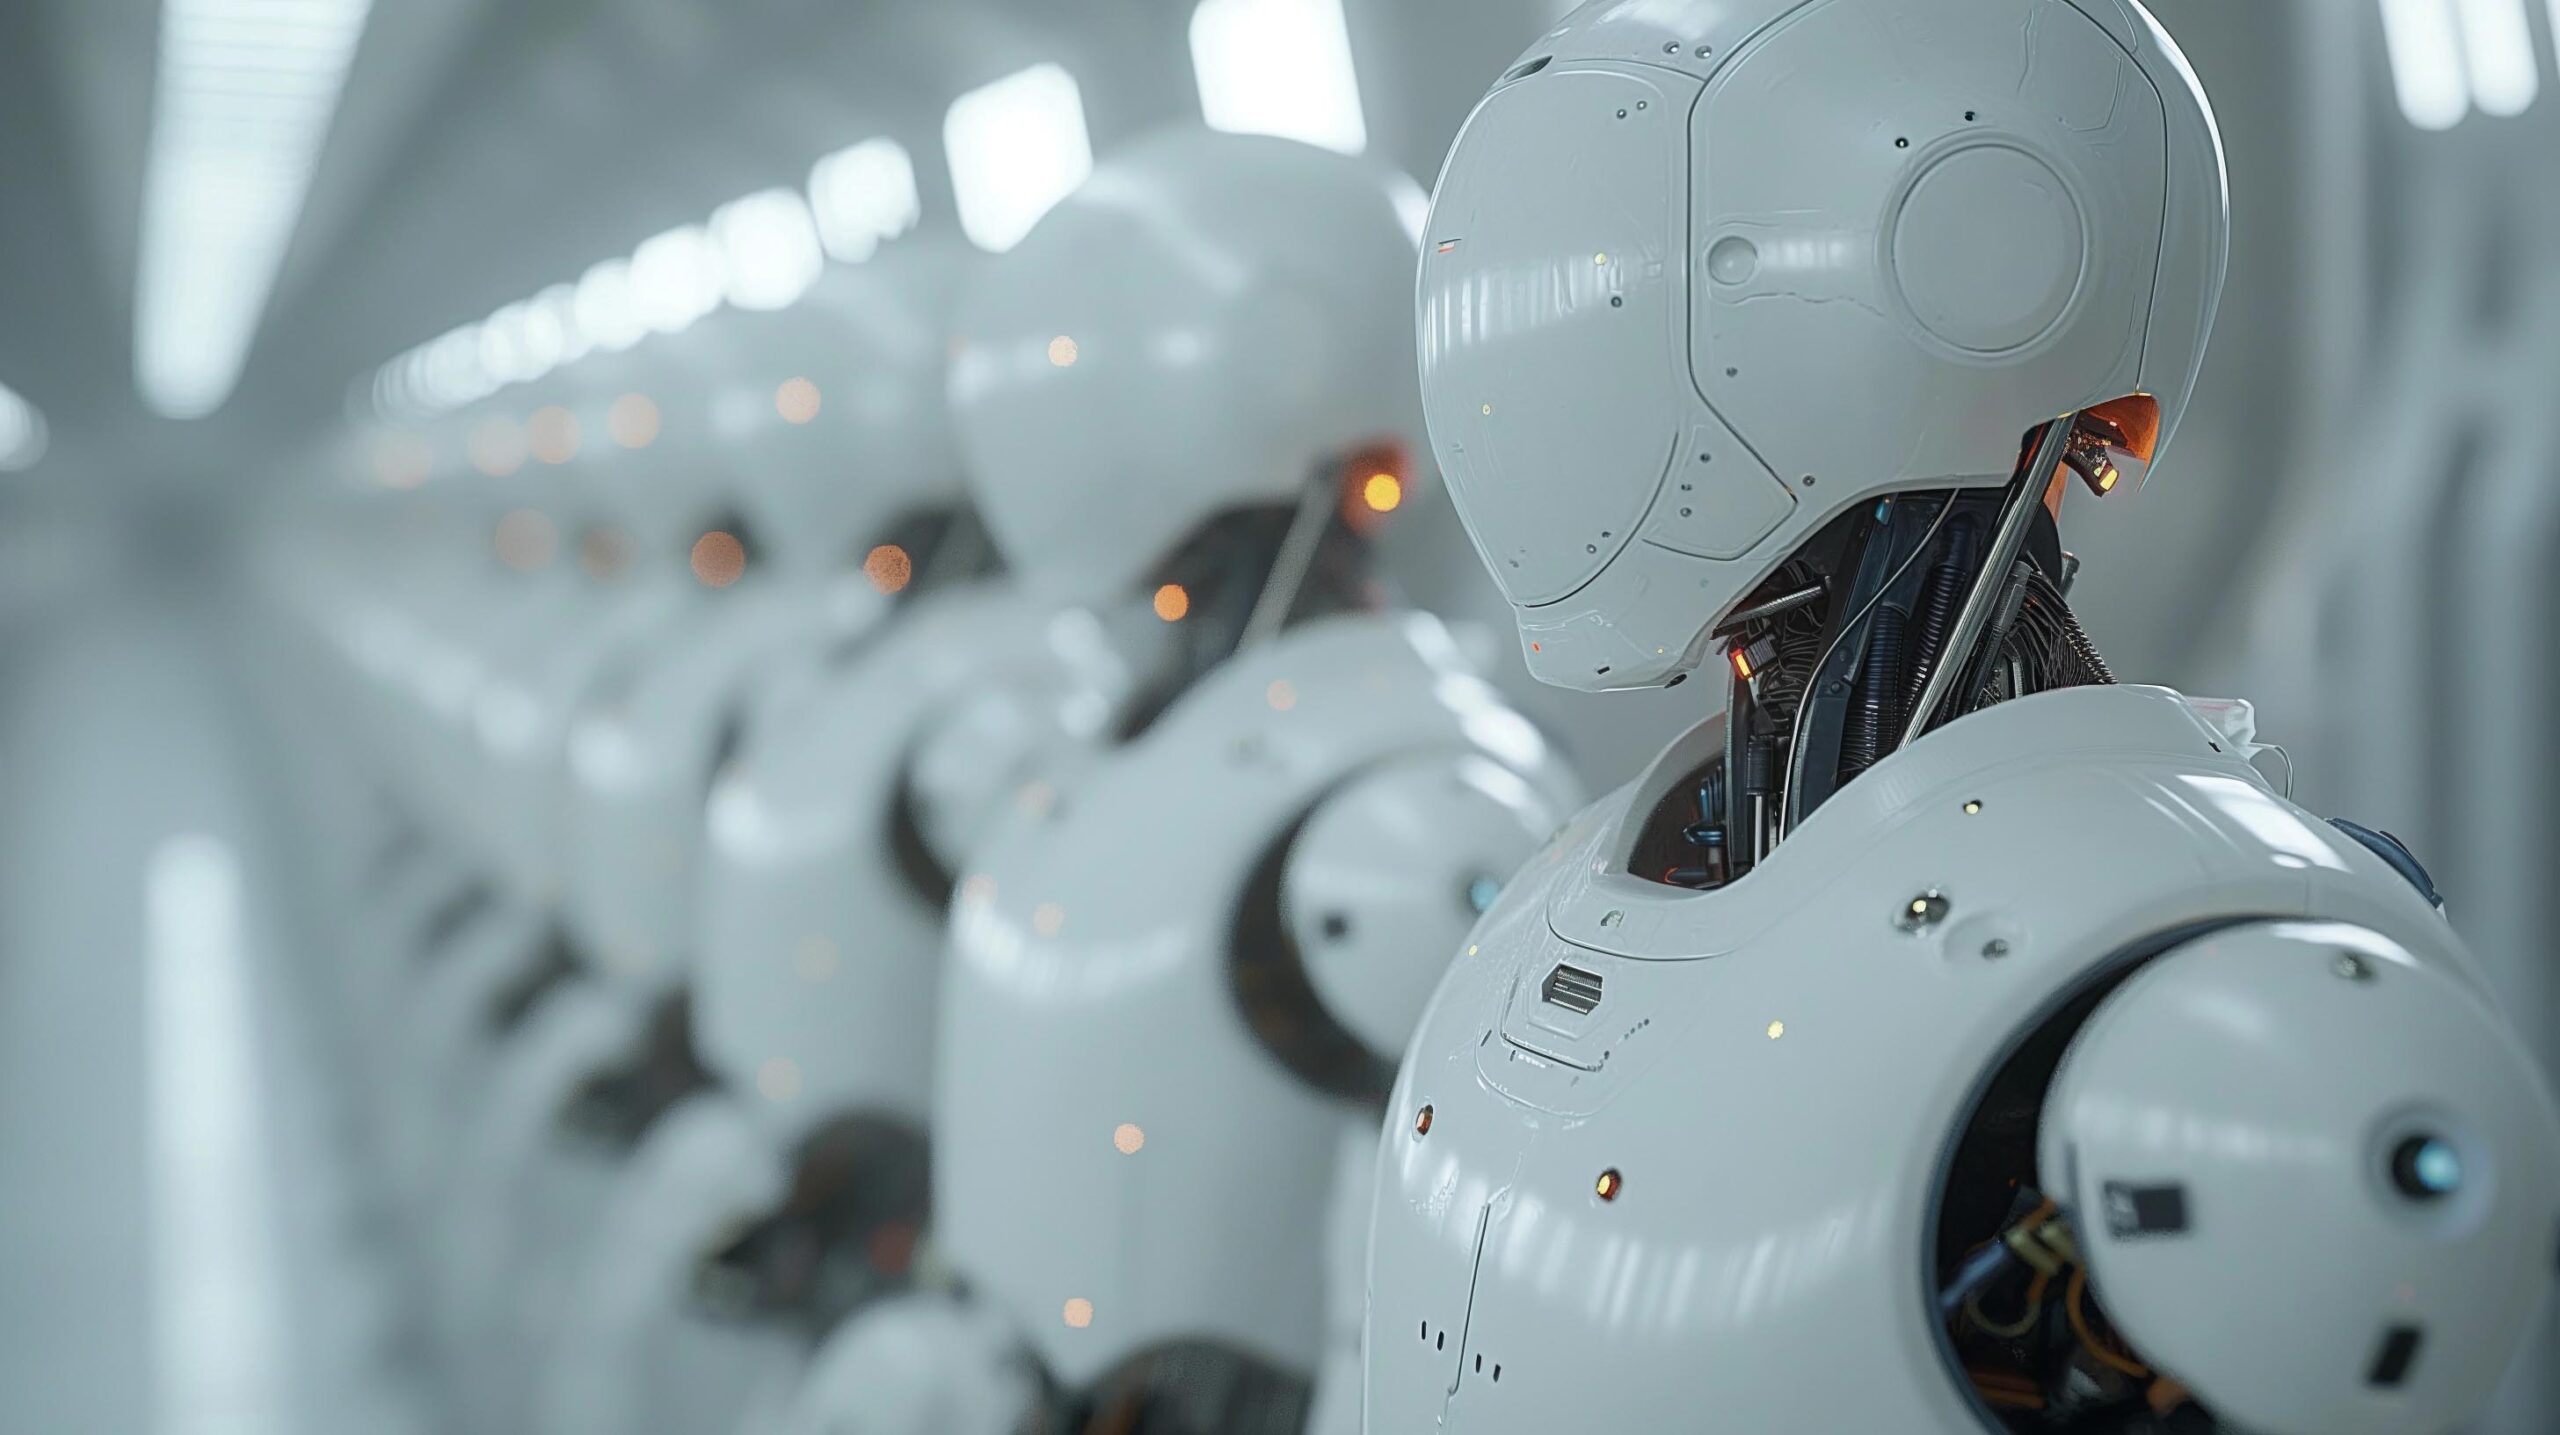
Depth of Field Technique
Designing the right look for your model is the key to professional images. Depth of field (DOF) is a powerful tool that can be used to help direct the viewer’s attention and add cinematic flair to your rendering process. By selectively blurring objects that are not in focus, depth of field simulates the way the human eye naturally perceives depth and distance, creating a sense of realism and immersion. Depth of field is determined by several factors, including the aperture size, focal length of the lens, distance to the subject, and sensor size (in photography) or resolution (in computer graphics). To utilize depth of field effectively, identify the focal point of your scene—the object or area you want to emphasize. Set your camera’s focus distance to the focal point and adjust the aperture to control the depth of field. A wider aperture (lower f-stop value) will result in a shallower depth of field, whereas a narrower aperture (higher f-stop value) will increase the depth of field, keeping more objects in focus. Experiment with different focal lengths and camera angles to achieve the desired composition and visual impact of your 3d rendering. Use depth of field sparingly to draw attention to key elements of your scene while maintaining clarity and coherence. Here’s how depth of field works:
- Aperture Size: The aperture is the opening in the lens through which light enters the camera. The size of the aperture, measured in f-stops (e.g., f/2.8, f/5.6, f/11), determines how much light is allowed to pass through the lens. A larger aperture (smaller f-stop number) results in a shallower depth of field, with only a narrow range of distances appearing sharp and in focus. Conversely, a smaller aperture (larger f-stop number) increases the depth of field, resulting in more of the scene being in focus.
- Focal Length: The focal length of the lens also affects depth of field. In general, longer focal lengths (telephoto lenses) produce a shallower depth of field, while shorter focal lengths (wide-angle lenses) result in a deeper depth of field. This is why portrait photographers often use telephoto lenses to create a blurred background (bokeh) that isolates the subject from the surroundings.
- Distance to Subject: The distance between the camera and the subject also influences depth of field. As the distance to the subject increases, the depth of field deepens, meaning more of the scene will appear in focus. Conversely, when the subject is close to the camera, the depth of field becomes shallower, and only a small portion of the scene will be in focus.
- Sensor Size or Resolution: In digital photography and computer graphics, the size of the camera sensor or the resolution of the image sensor (in pixels) can affect depth of field. Larger sensors or higher-resolution tend to produce a shallower depth of field compared to smaller sensors or lower-resolution, all else being equal.
Three-Light Studio
Light plays a crucial role in 3D product rendering, influencing the mood, atmosphere, and perception of any product. By accurately simulating natural lighting conditions, such as sunlight, skylight, and artificial light sources, 3D artists can enhance the realism of their renders, making them more immersive and believable to viewers.
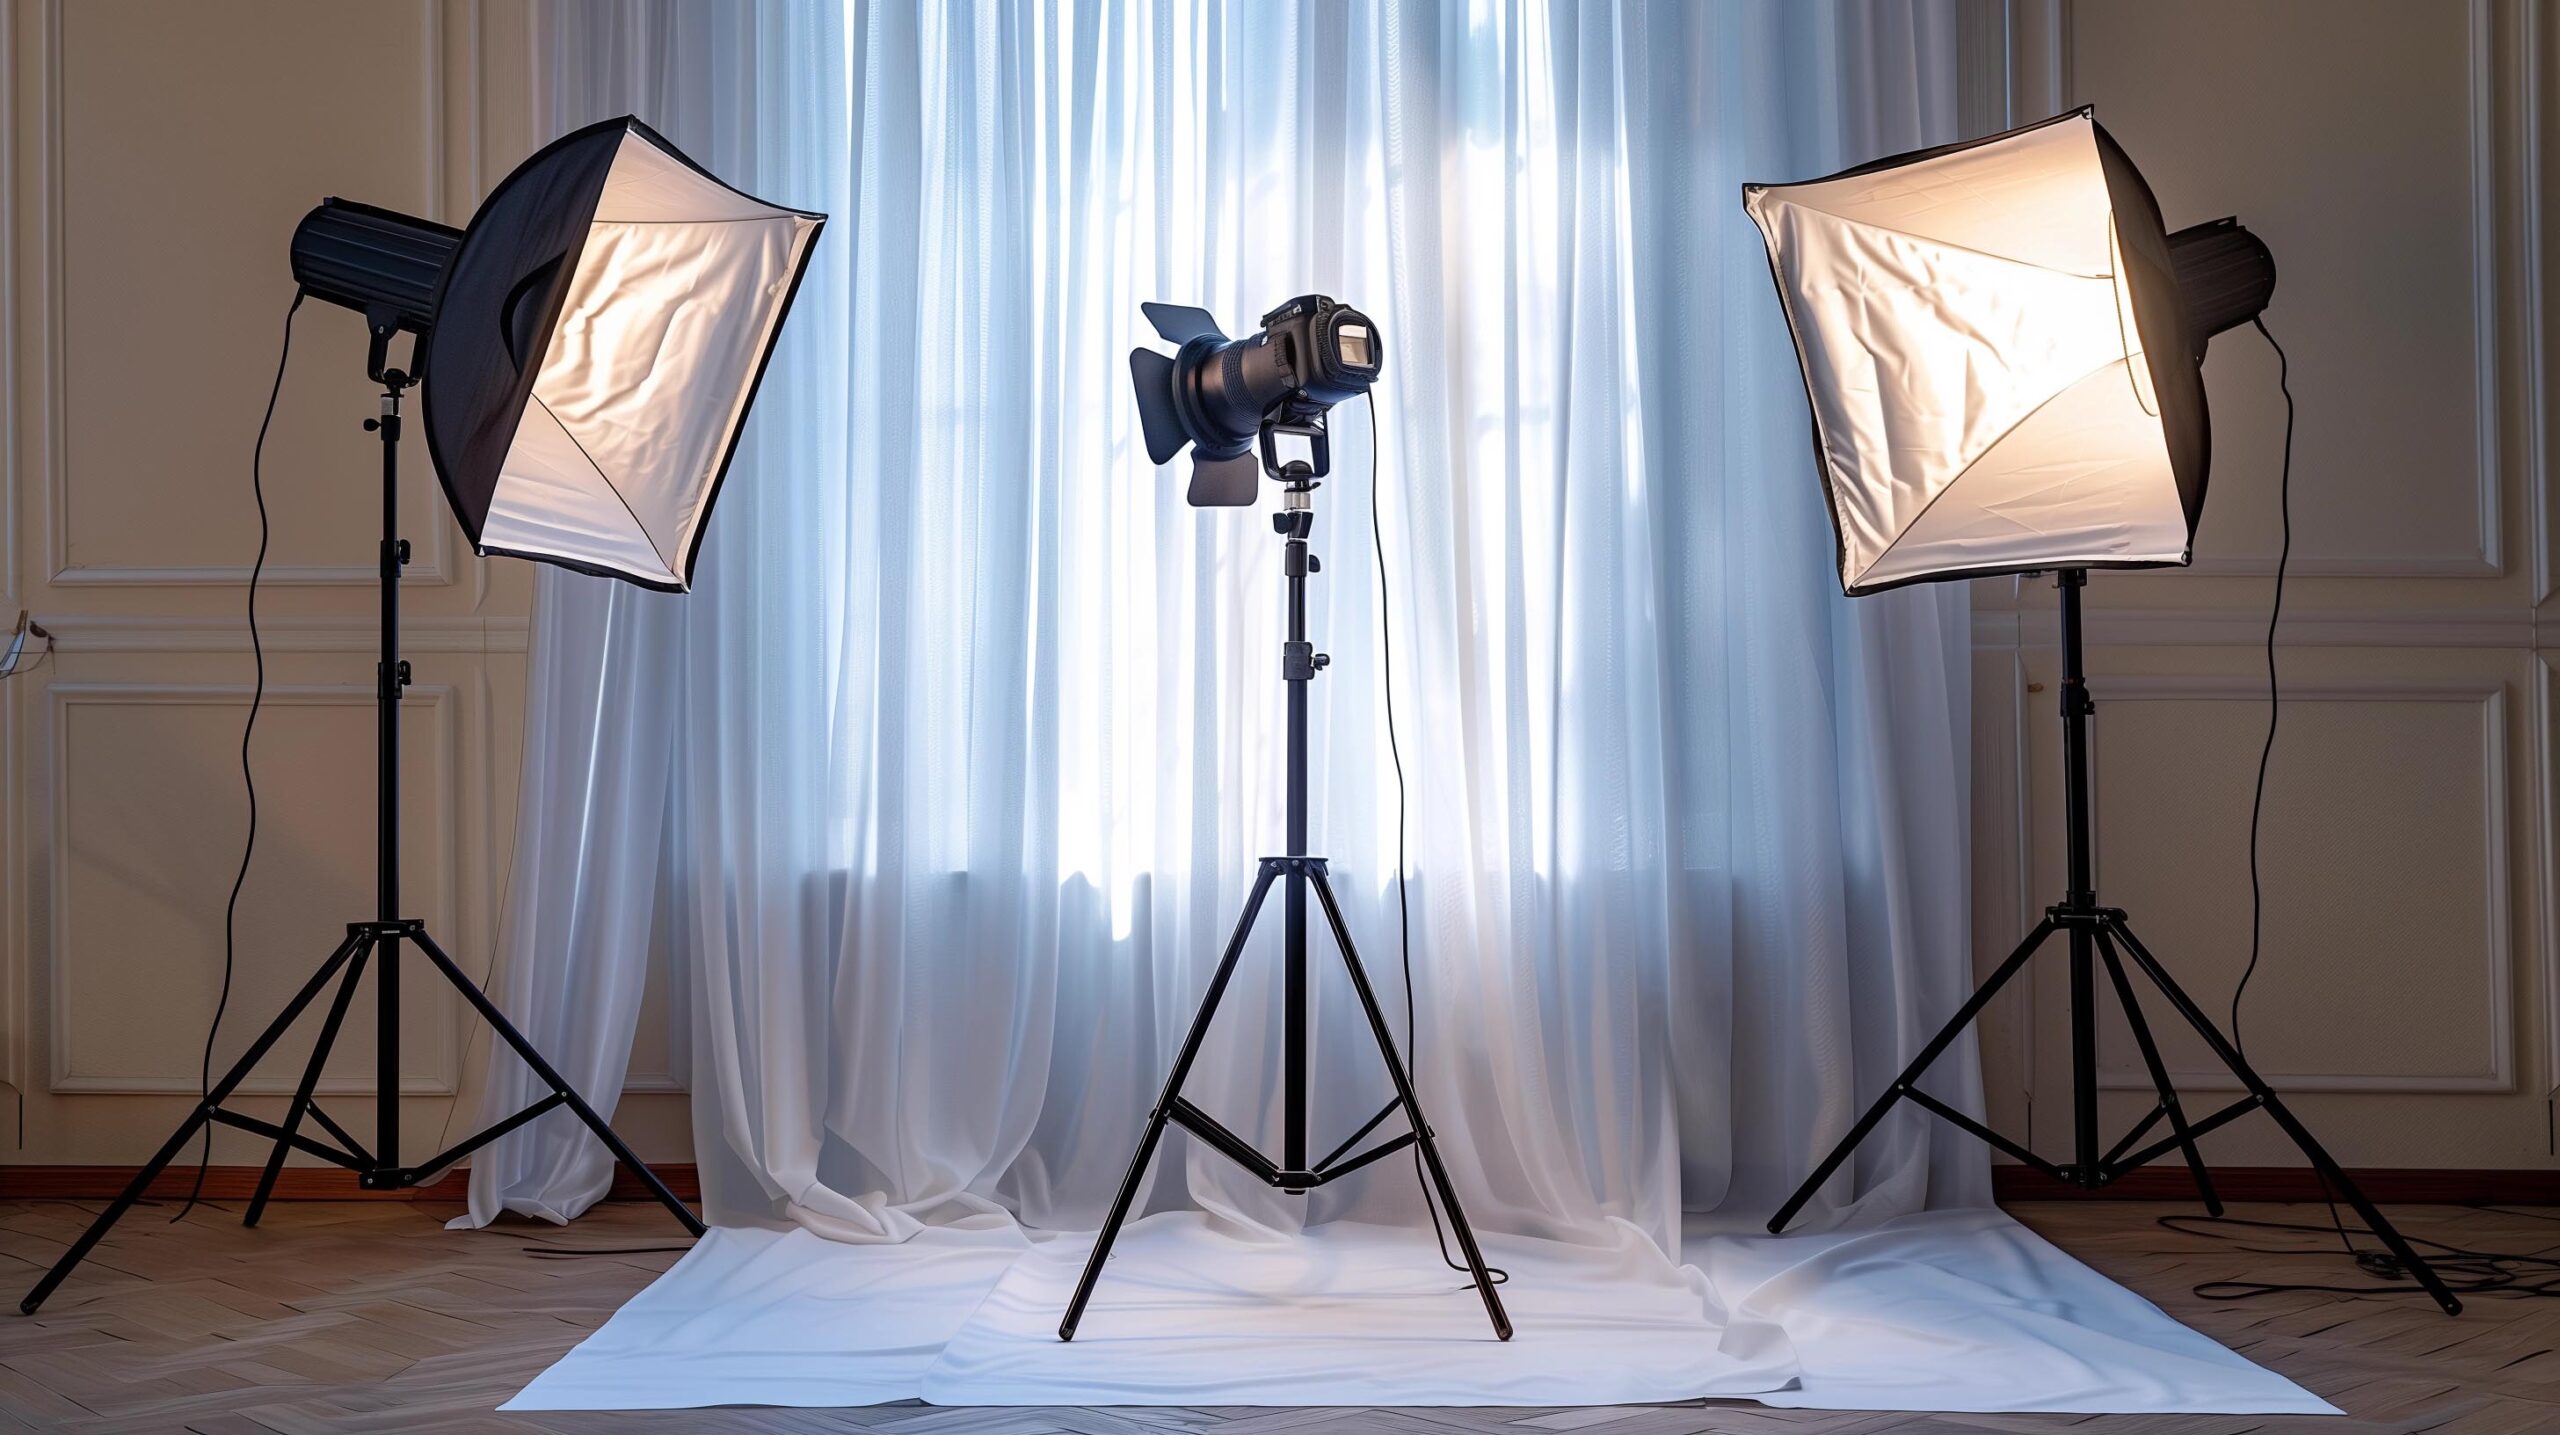
Implementing a studio setup is a popular choice for showcasing products in a controlled environment. A three-light studio setup is a classic configuration commonly used in photography and videography to illuminate subjects with depth, dimension, and clarity. This setup typically consists of three primary light sources: key light, fill, and backlight. Each light serves a specific purpose and contributes to creating a well-balanced and visually appealing image. Here’s how this studio setup works in your model:
- Key Light: The key light is the primary light source in the setup and serves as the main illumination for the subject. Positioned to one side of the subject, the key light casts shadows that define the shape and contours of the subject, adding depth and dimension to the image. The intensity and direction of the key light can be adjusted to control the mood and emphasis of the scene.
- Fill Light: The fill light complements the key by filling in the shadows, reducing their intensity and softening the contrast between bright and dark. Typically positioned opposite the key source, the fill helps to even out the lighting across the subject, resulting in a more balanced and flattering appearance. The fill source is typically softer and less intense than the key light to maintain a natural-looking illumination.
- Backlight (or Rim Light): The backlight, also known as a rim light, is positioned behind the subject and aimed towards its back or side. The backlight serves to separate the subject from the background by creating a rim of light along its edges, enhancing its outline and adding depth to the image. Additionally, the backlight can create highlights on the subject’s hair or shoulders, further accentuating its shape and form.
By combining these three lights in a studio setup, photographers and videographers can achieve a variety of lighting effects and moods, from dramatic and high-contrast to soft and flattering. The key light provides the primary illumination and defines the subject’s shape, while the fill light helps to balance the lighting and reduce harsh shadows. The backlight adds separation and dimension, enhancing the subject’s appearance and creating visual interest. A three-light studio setup offers versatility and control, allowing photographers and videographers to create professional-quality images with depth, dimension, and visual impact. Experimenting with the positioning, intensity, and modifiers of each light can result in a wide range of creative effects and styles, making the three-light setup an essential tool for any studio setup, even virtual.
HDR Lighting
HDR (High Dynamic Range) lighting enables designers to simulate realistic conditions by using high-resolution HDR images textures as light sources. These images capture a wide range of light intensities and color values, allowing for accurate reflections and soft shadows. Integrate HDR textures into your process to achieve natural-looking illumination and enhance realism. In traditional rendering, light sources are typically represented by simple numerical values that specify their intensity and color. However, real-world lighting is much more complex, with a broad spectrum of light intensities ranging from very dim to extremely bright, and colors that vary based on the properties of the light source and the materials it interacts with. When HDR lighting is used in 3D rendering, the HDR image is mapped onto a virtual sphere surrounding the scene, effectively simulating an environment where light is coming from all directions. This allows for more accurate reflections, refractions, and ambient lighting in the rendered scene, resulting in more realistic and visually compelling images. One of the key benefits of the HDR lighting process is its ability to capture subtle lighting nuances and details that may be missed with traditional lighting techniques.
Area Lights
Area lights allow for precise control over the direction, intensity, and color of light, enabling designers to create dramatic lighting effects and highlight specific areas of the product or image. Area lights are a type of light source commonly used in 3D rendering to simulate large, uniform light sources such as fluorescent panels, softboxes, or windows. Unlike point or spotlights, which emit light from a single point or direction, area lights emit from a defined area or surface. Area lights are typically represented as geometric shapes, such as rectangles or squares, that emit uniformly across their surface. Designers can control the intensity, color, size, and shape of area lights to achieve the desired lighting effect in their scenes. Area lights are particularly useful for creating soft, diffuse lighting that evenly illuminates a scene, making them ideal for simulating natural lighting conditions or for illuminating large areas such as rooms or outdoor environments. One advantage of area lights is their ability to produce soft shadows with smooth transitions, which can enhance the realism of a scene. However, they will require more computer resources compared to point lights or spotlights, especially when used in large numbers or with complex scenes.
Color Temperature
Pay attention to the color temperature of your light sources to evoke the desired mood and atmosphere in your renders. Color temperature is a measurement used to describe the color of light emitted by a light source. It is typically expressed in units of Kelvin (K) and represents the warmth or coolness of the light. Despite its name, color temperature does not actually measure temperature in degrees Celsius or Fahrenheit but rather the color characteristics of the light. In lighting, lower color temperatures (ranging from around 2700K to 3500K) produce warm, yellowish light similar to the glow of candlelight or incandescent bulbs. These warmer tones are often associated with comfort, relaxation, and intimacy, making them popular choices for residential and hospitality environments. Conversely, higher color temperatures (ranging from around 5000K to 6500K or higher) emit cooler, bluish light reminiscent of daylight or overcast skies. These cooler tones are often associated with alertness, productivity, and concentration, making them suitable for commercial, industrial, and outdoor applications. Color temperature and white balance are another tool you can use in your rendering process. Warm tones create a cozy and inviting ambiance, while cool tones convey a sense of sophistication and modernity. Experiment with different color temperatures and color combinations to achieve the desired emotional response from your audience.
By designing advanced lighting in your 3D rendering projects, you can create captivating visuals that showcase your models in the best possible light. Whether you’re aiming for photorealism, drama, or mood, mastering lighting techniques is essential for elevating the visual impact of your renders and captivating your audience. Experiment, iterate, and refine your lighting setups to achieve stunning results that leave a lasting impression.
Elevate Your Renders with Advanced 3D Rendering Techniques
In conclusion, mastering the art of product visualization requires a deep understanding of the advanced 3D rendering process. By harnessing the power of 3d modeling, photorealistic rendering, ambient occlusion, depth of field, and advanced lighting techniques, you can create stunning images of your work that captivate your audience and elevate your projects to new heights. Whether you’re showcasing products for marketing purposes, creating catalog images, or bringing design concepts to life, these techniques will enable you to create compelling 3D visuals that leave a lasting impression. Remember to experiment, iterate, and refine your 3d renderings to achieve the desired level of realism and impact.
With these top 3D rendering techniques in your toolkit, you’ll be well-equipped to tackle any visualization project with confidence and creativity. So go ahead, unleash your imagination, and let your renders speak volumes.

