3d Product Development
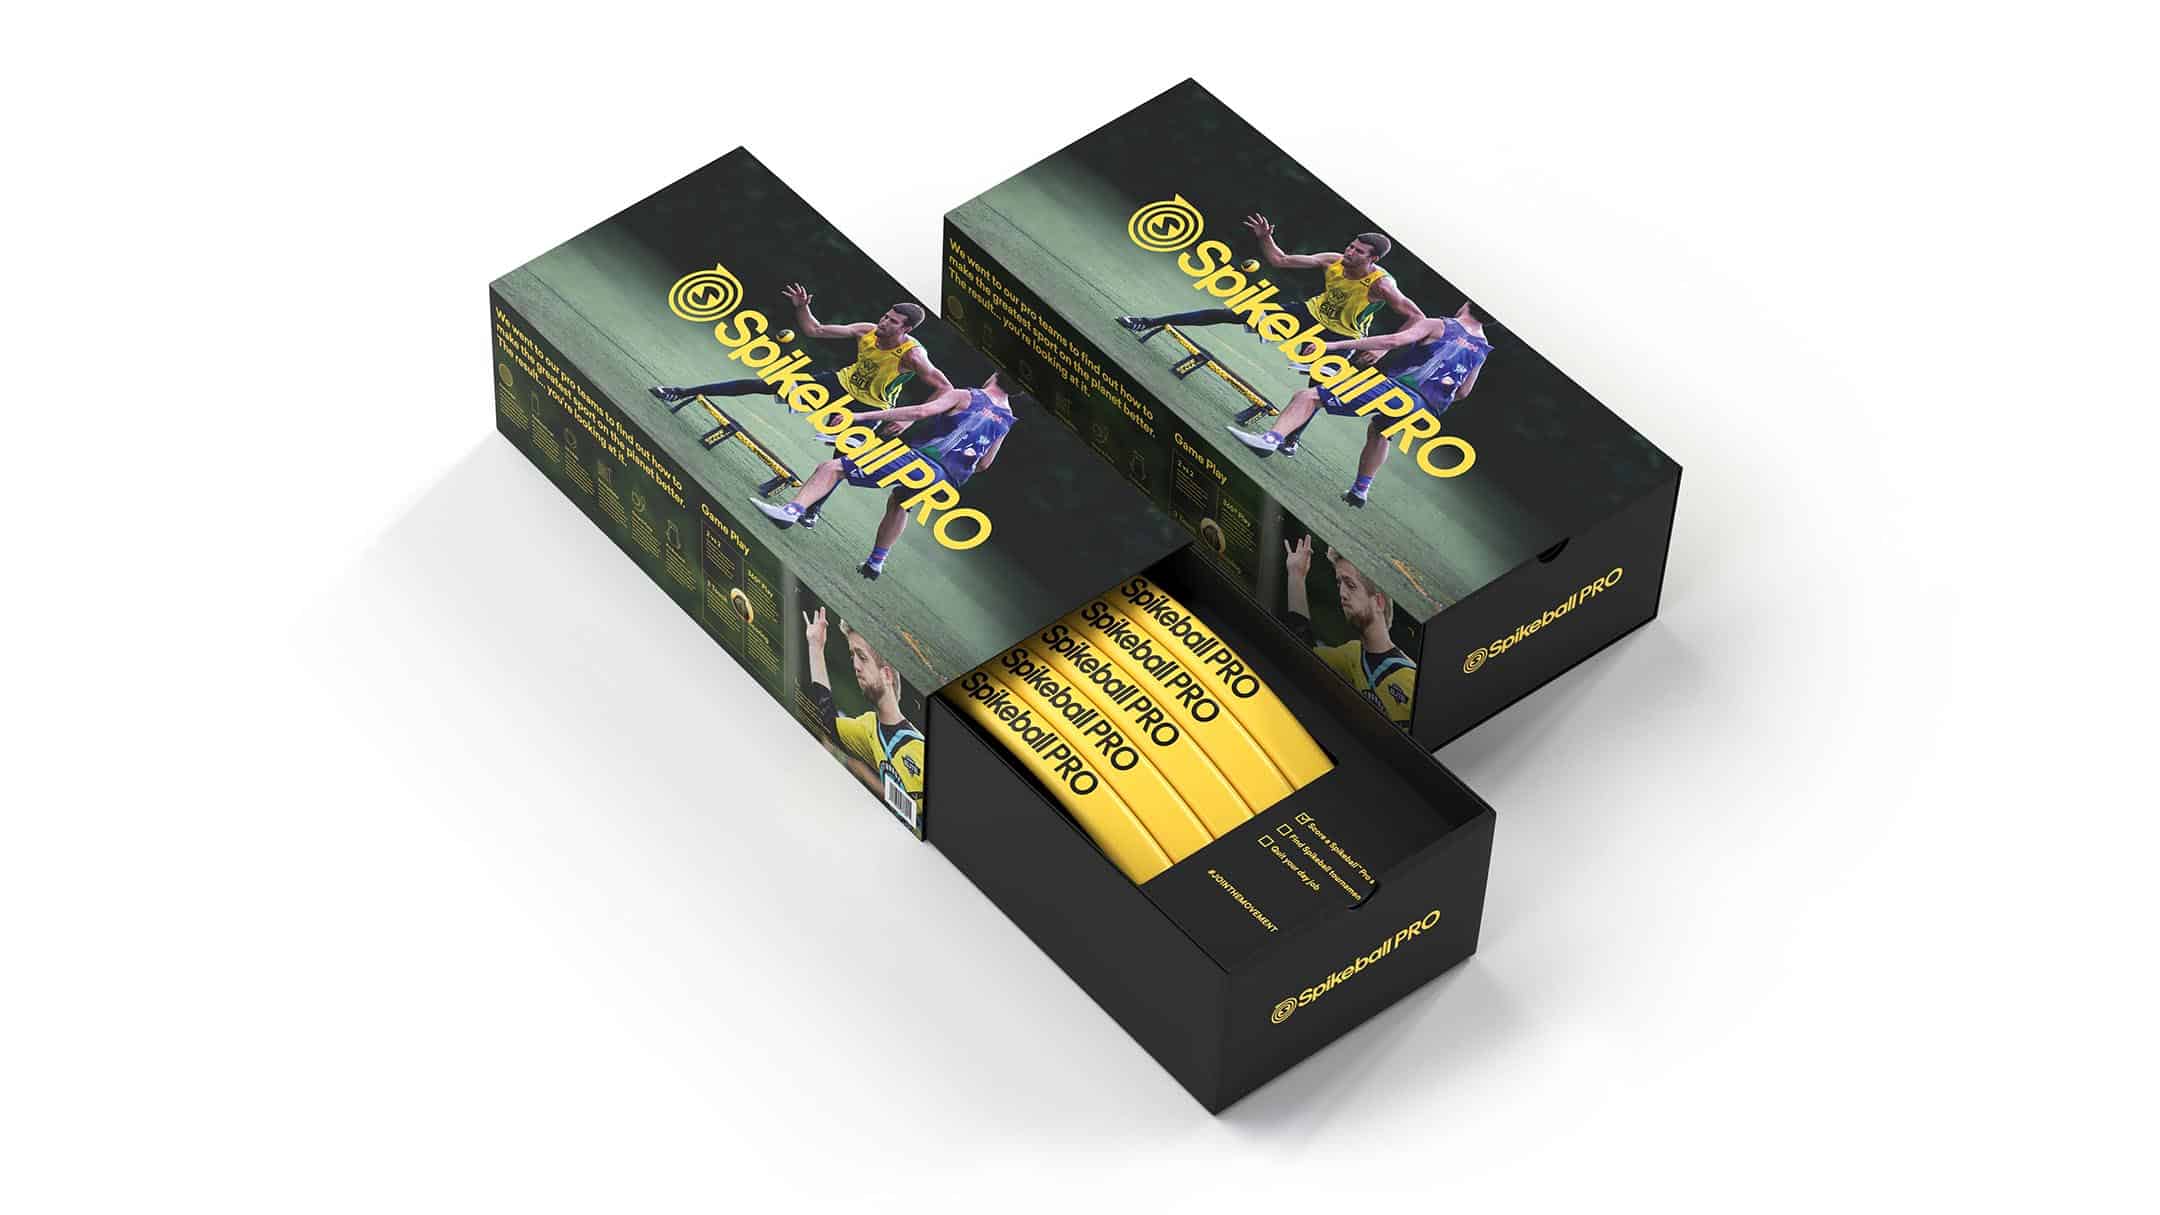
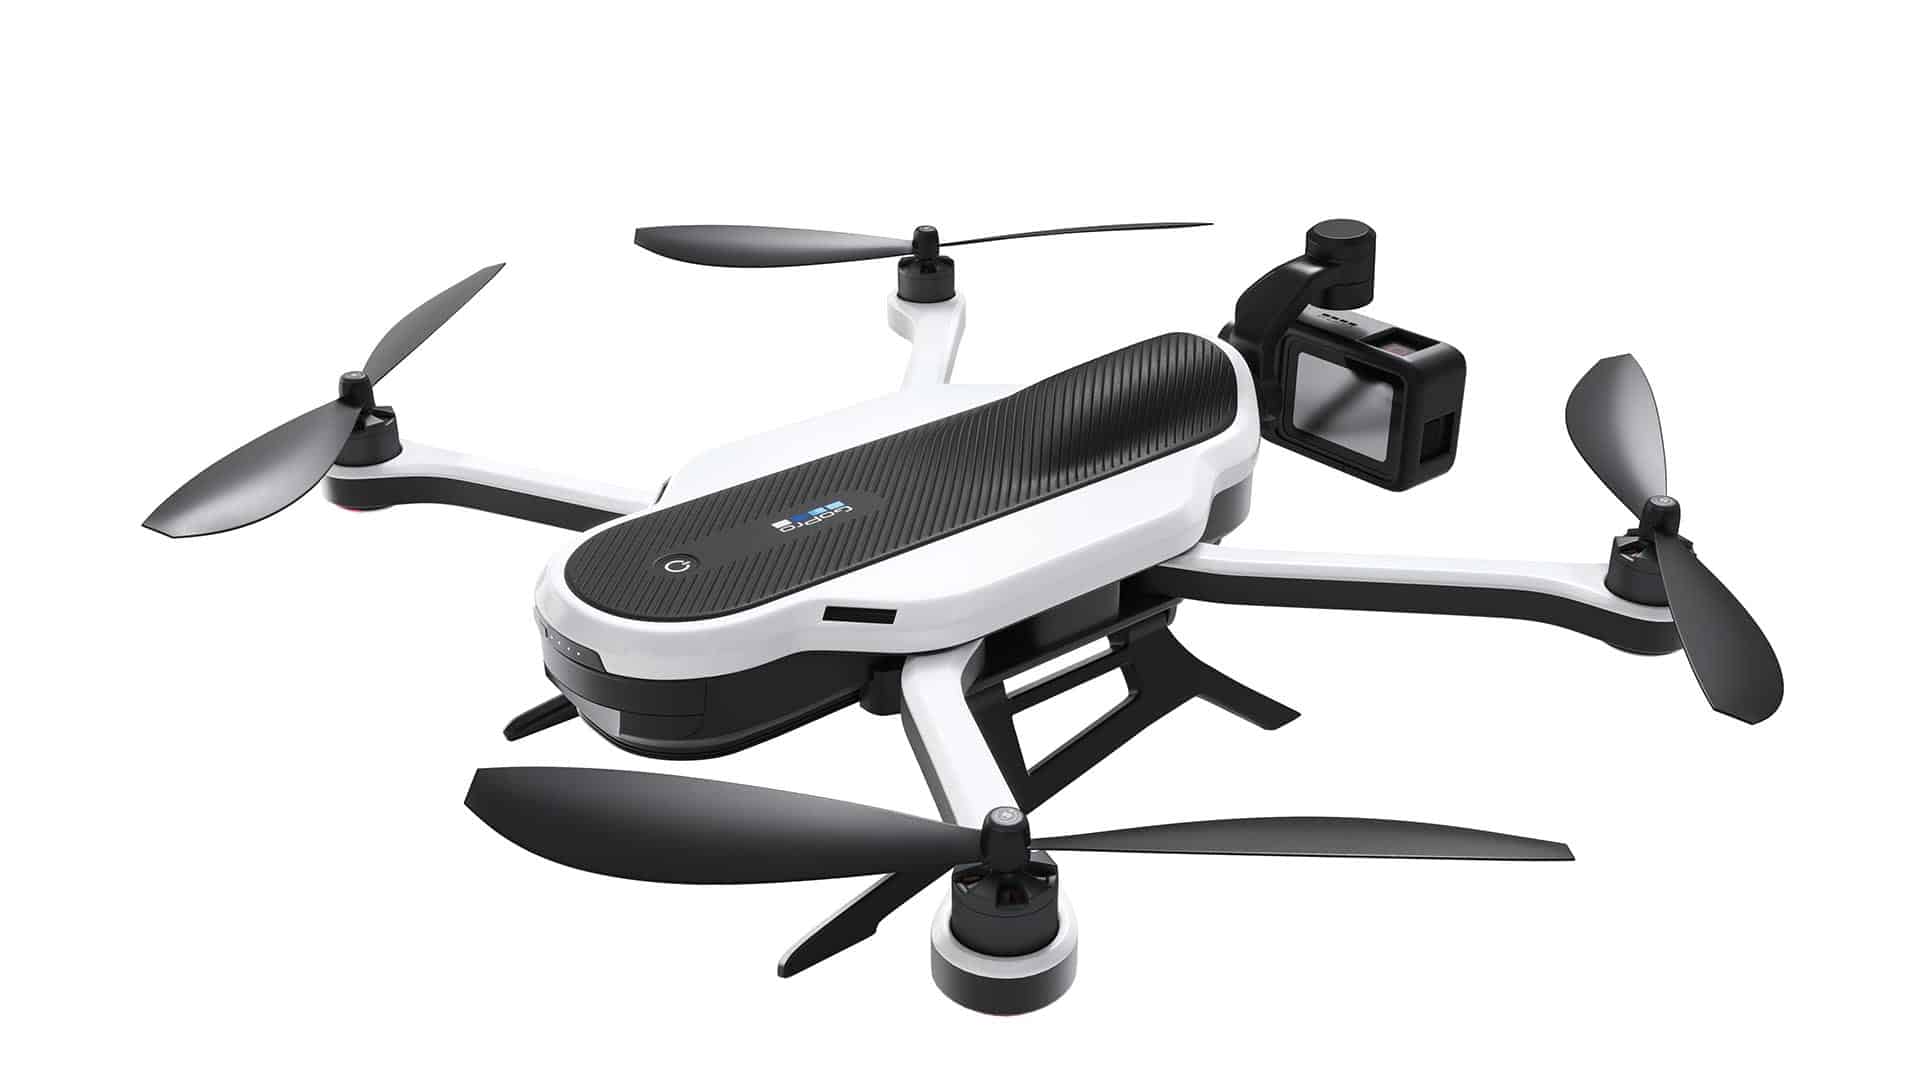
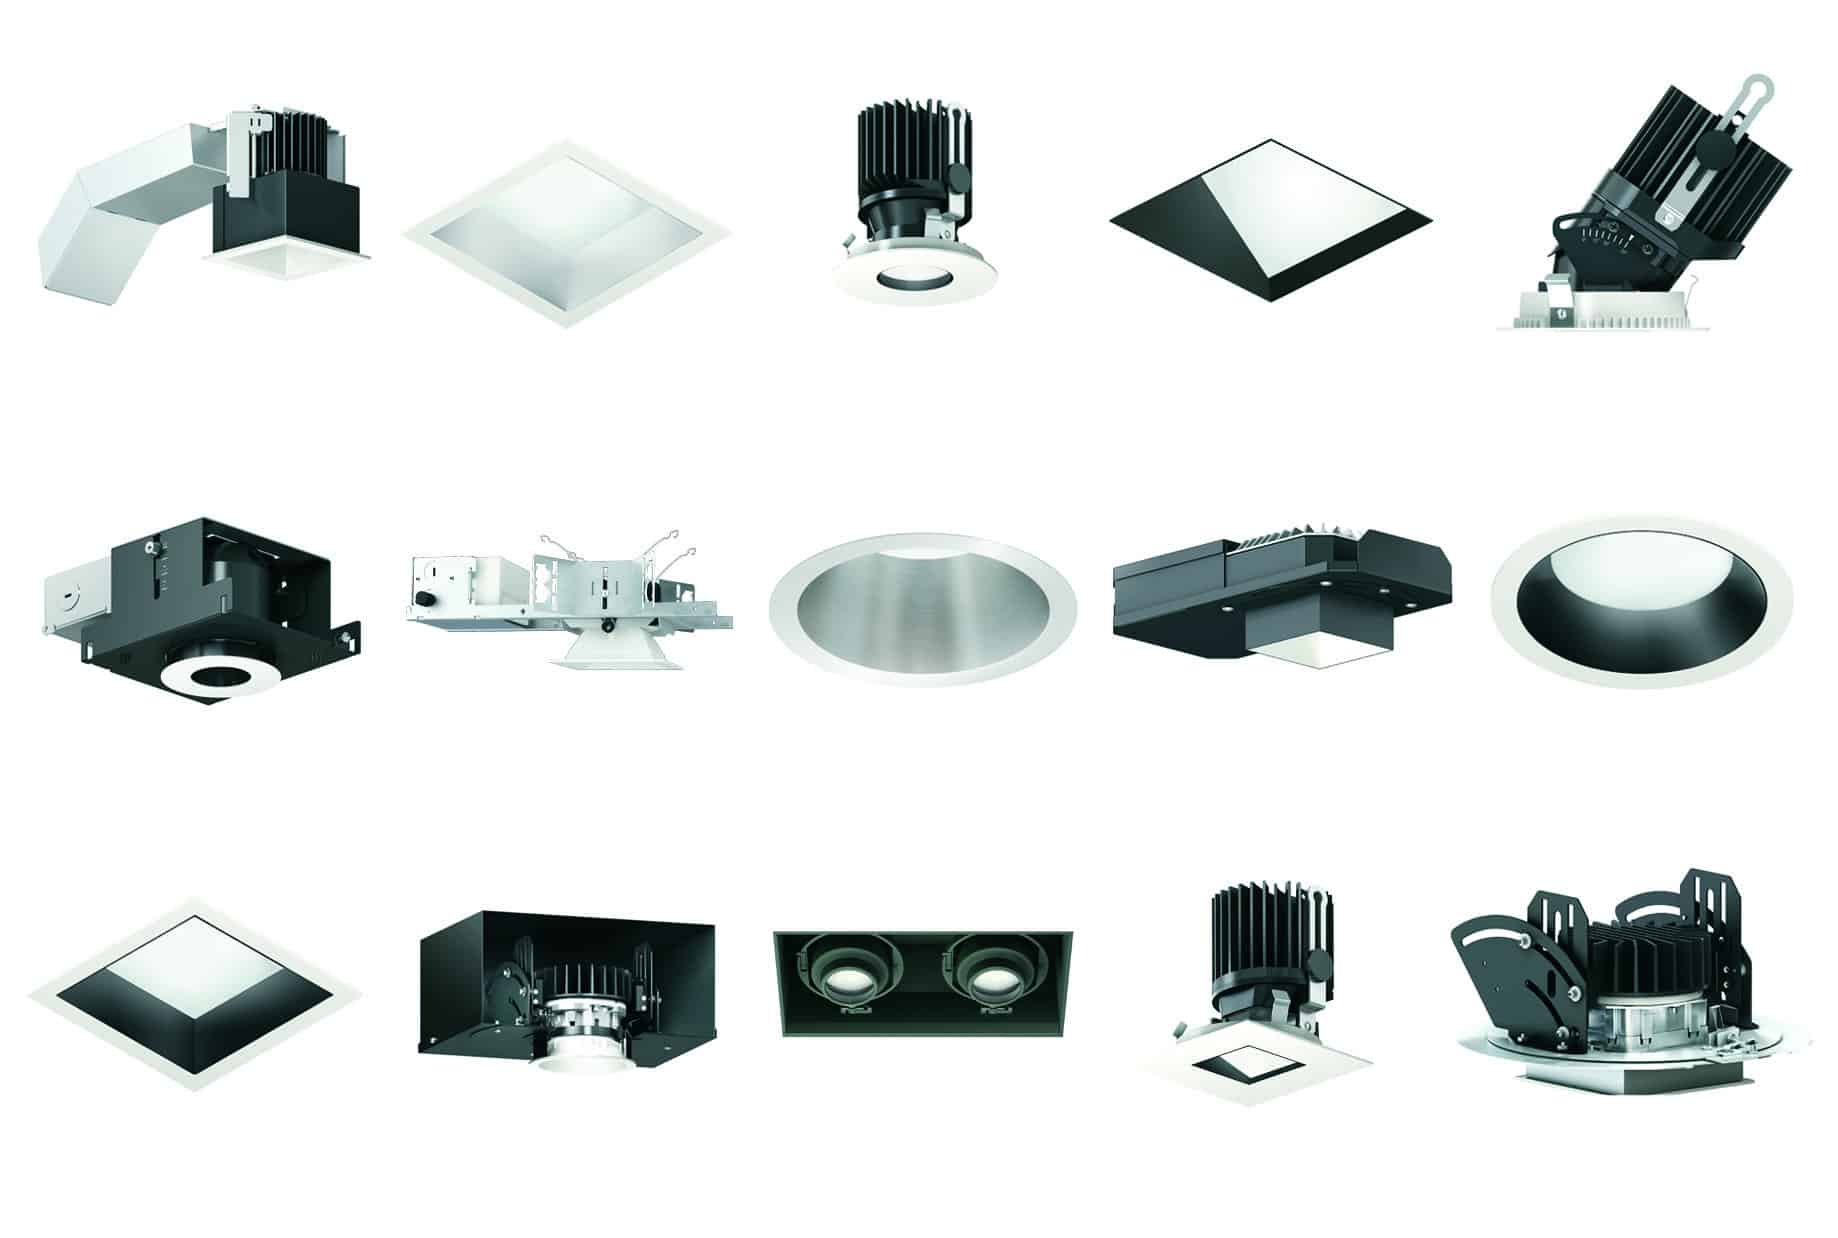
Product renderings are useful for the product development process. Design visualization provide an authentic realistic representation of your product.
A product rendering is a computer-generated image that is used to showcase a product, typically before it is manufactured. These renderings can be used for a variety of purposes. Maybe to present a product design to clients, showcase a product on a website, or to create marketing materials. Product renderings can be created using 3D modeling software. They are typically highly detailed realistic images that accurately depict the product from various angles.
Product renderings are a very valuable tool for product design. 3d renderings allow the designer to see how the final product would look and make adjustments before manufacturing. It also can be used to show the product to potential clients and stakeholders. This can help to secure funding and support for the product. They are also useful for creating marketing materials, such as brochures, posters, and advertisements before the product is available to photograph.
Overall, product renderings are a cost-effective and efficient way to create high-quality images of a product that can be used for a variety of purposes throughout the product development and launch process.

Helpful Product Renderings
Product renderings can be very helpful in the product development process. They can be used at various stages of the product lifecycle, including:
- Design visualization. Renderings allow designers to see how a product will look in its finished form. This can help identify potential design issues early on in the development process. It will help to reduce the need for costly changes later on.
- Design iteration. Renderings can be easily modified. Designers can explore different design options and make changes quickly and efficiently. This can help to speed up the product development process and improve the overall design of the product.
- Communication. Product renderings can be used to communicate design concepts to clients, stakeholders, and other members of the product development team. This can help to ensure that everyone is on the same page and that the final product meets the needs of all stakeholders.
- Marketing. High-quality product renderings can be used to create marketing materials before the product is available to photograph. This can help to generate interest in the product and attract potential customers.
- Cost savings. By identifying potential issues with a design early on, renderings can help to reduce the need for costly changes during the product development process. This can help to keep costs down and improve the overall efficiency of the process.
- Time-saving. By creating a product rendering of a product, you can save time by viewing multiple design options and making changes before any manufacturing begins.
In summary, product renderings can help to improve the design, communication and marketing of a product while reducing costs and saving time during the product development process.

Making of a Product Rendering
Creating a product rendering typically involves several steps and requires the use of 3D modeling software. Here is an overview of the product rendering process:
- Create a 3D model. The first step in creating a product rendering. Create a 3D model of the product. This can be done using 3D modeling software.
- Apply materials. Once the model is complete, you can apply materials to the product to give it a more realistic look. This can be done using a material library, which contains pre-made materials that can be applied to the model.
- Lighting and Camera settings. Once the materials are applied, you can then set up lighting and camera angles to showcase the product in the most favorable light. This can be done by adding lights to the scene, adjusting the intensity and color of the lights, and positioning the camera at the right angle and distance.
- Add environment and background. If you want to showcase the product in a specific environment, you can add a background and environment to the scene. This can be done by adding a photo background, such as a room or outdoor setting, or by creating your own environment in 3D.
- Render the scene. Once you have set up the lighting, materials, camera, and environment, you can then render the scene. It can take some time to create the final product rendering, depending on the complexity of the scene and the power of your computer.
- Post-production. After the render is complete, you can then use image editing software, such as Adobe Photoshop, to make final adjustments to the image. This can include adjusting the color, contrast, and adding any additional effects or annotations.
It’s important to note that this process can vary depending on the software and the complexity of the product. Some product renderings can take a few hours to make and others can take days or even weeks. It depends on the skill level of the person creating the rendering.

Product Development Lifecycle
It’s important to note that the use of renderings during the product development process can vary from one product to another and from one company to another. It also depends on the type of product, the budget, and the goals of the company. Some companies may rely more on renderings than others. For example, a company that designs and manufactures complex machinery may rely more on renderings than a company that designs and manufactures a simple consumer product.

